If your garage door’s glass is cracked, shattered, or outdated, replacing it can improve both safety and curb appeal. Garage door glass replacement might sound tricky, but it’s actually a straightforward process when broken into steps. Let’s walk through the essentials, from how it’s done to what it might cost you.
Why Replace Garage Door Glass?
Broken glass isn’t just an eyesore; it’s a hazard. It can compromise insulation, leave your garage vulnerable to weather, and even invite pests. Clear or frosted glass panels can elevate your garage door’s appearance, making it look more modern or polished.
What Is Garage Door Glass Replacement?
Garage door glass replacement involves removing damaged panels or upgrading existing ones with newer, better options. This can include tempered, tinted, or insulated panels to improve energy efficiency.
While the process might seem simple, there’s an art to doing it safely and correctly, ensuring the door maintains its structure and functionality. Sometimes, it is best to get a new garage door installed.
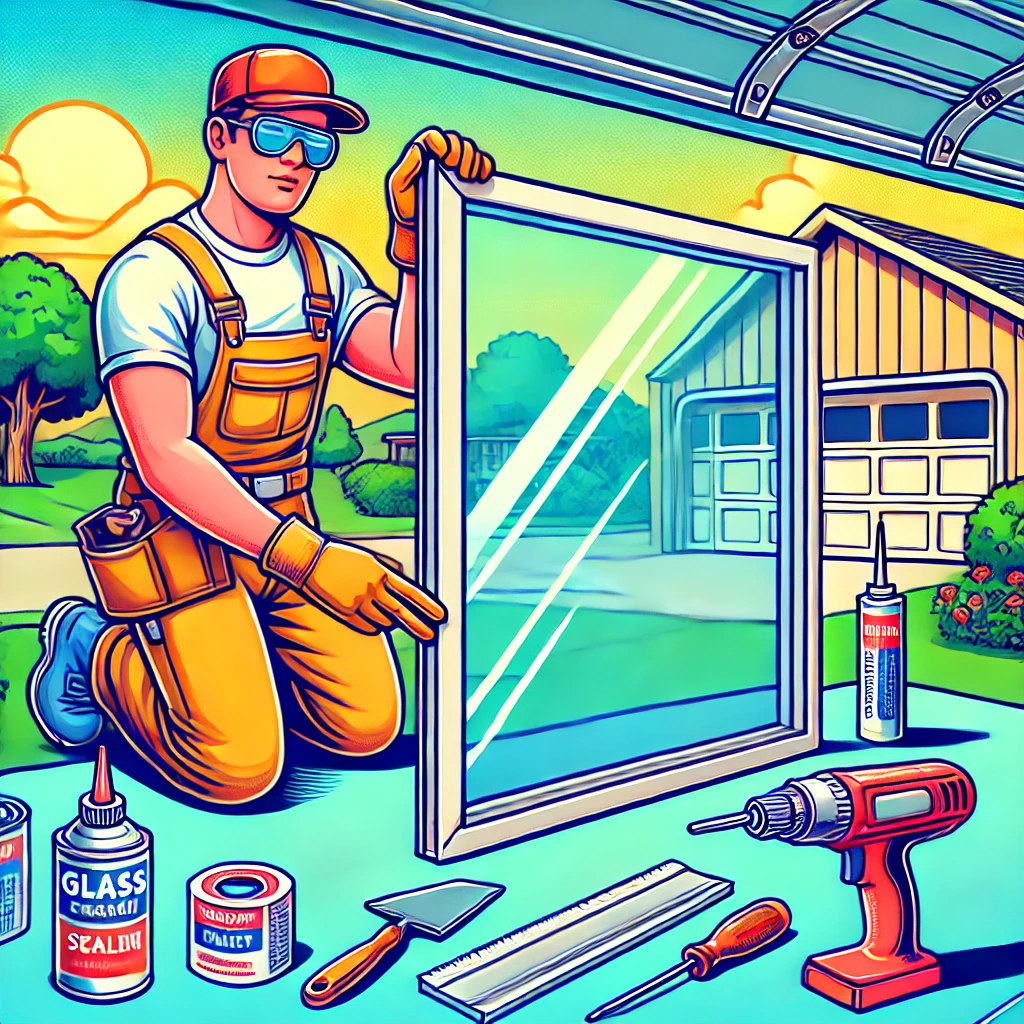
Tools Needed for Garage Door Glass Replacement
Before diving into the process, here’s a quick list of tools professionals typically use:
- Safety gloves and goggles
- Putty knife or scraper
- Screwdriver (flathead or Phillips, depending on the door)
- Replacement glass panel(s)
- Rubber mallet
- A weatherproof sealant or glazing compound
- Measuring tape
Step-By-Step Process of Replacing Garage Door Glass
1. Measure the Glass Panel
Accurate measurements are vital. Use a tape measure to record the length and width of the panel. If the glass has a decorative trim, measure within the frame. This ensures the new panel fits perfectly.
2. Remove the Damaged Glass
Wear gloves to protect your hands from shards. Carefully remove broken glass pieces by loosening any screws or clips holding the panel in place. Use a putty knife to scrape off old sealant or debris.
3. Clean the Frame
Once the glass is out, clean the frame thoroughly. Leftover debris or adhesive can interfere with the new panel’s fit. A clean surface also helps the sealant adhere properly.
4. Insert the Replacement Glass
Place the new glass panel into the frame. Ensure it’s snug and properly aligned. If there are clips or screws, secure them without over-tightening.
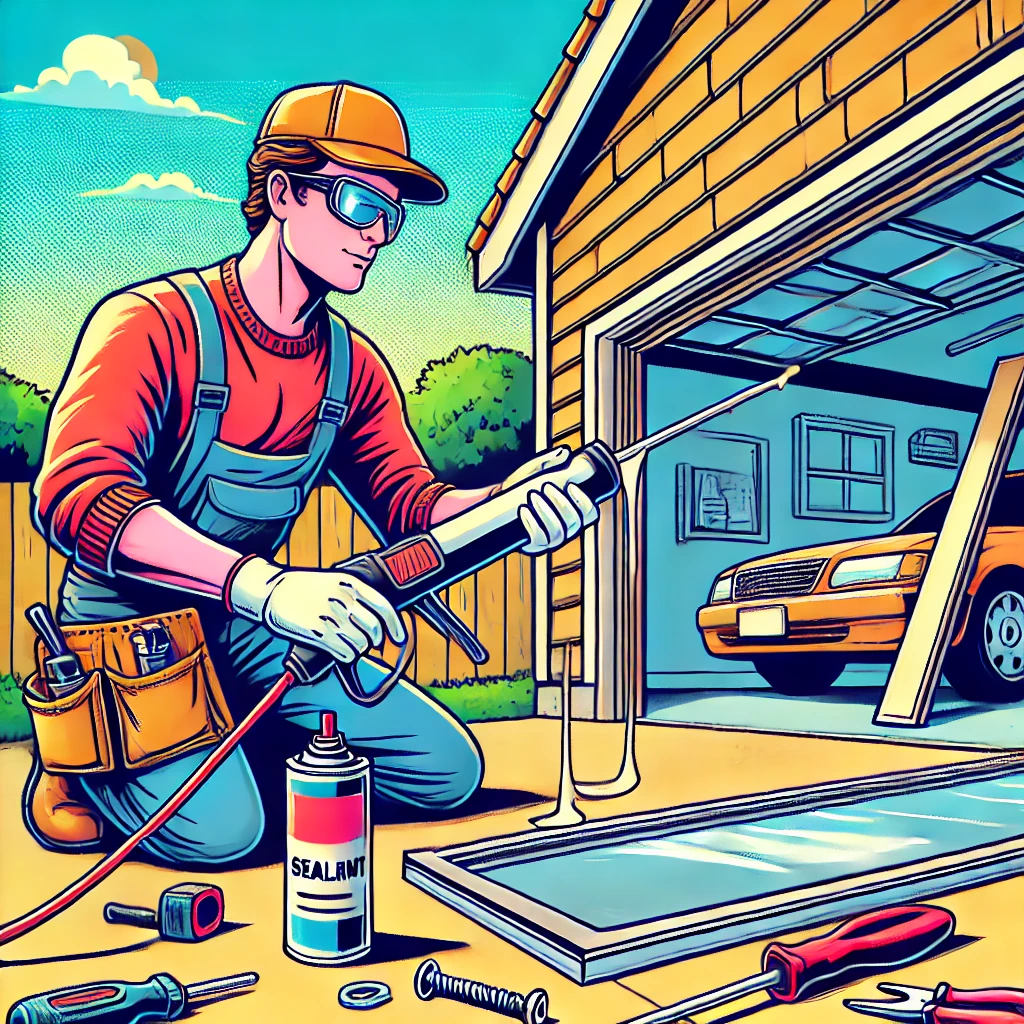
5. Apply Sealant
Apply a bead of weatherproof sealant around the edges of the panel. This step prevents moisture, air leaks, and drafts. Smooth the sealant with your finger or a tool for a neat finish.
6. Inspect Your Work
Give the glass a final check. Make sure it’s secure, the sealant is evenly applied, and the panel sits flush with the frame. Wipe away any excess sealant or smudges.
Cost of Garage Door Glass Replacement
The cost depends on the size, type of glass, and labor involved. Here’s a quick breakdown:
1. Materials
- Basic Glass Panels: $20–$50 per panel
- Insulated or Tempered Glass: $50–$150 per panel
- Specialty Glass (Tinted, Frosted, or Decorative): $100–$300 per panel
2. Labor Costs
Hiring a professional typically costs $75–$200, depending on location and complexity. Some garage door repair companies offer package deals if multiple panels need replacement.
3. DIY Savings
If you’re handy, replacing the glass yourself can save on labor. However, keep in mind that improper installation could lead to long-term issues.
4. Total Estimated Cost
For a single glass panel replacement, expect to spend between $100 and $400, including materials and labor. For multiple panels or specialty upgrades, costs could reach $800 or more.
Factors That Affect Replacement Costs
Several variables influence the overall price:
- Glass Type: Standard panels cost less, while insulated or decorative options run higher.
- Garage Door Size: Larger doors typically require bigger, pricier panels.
- Customization: Frosting, tinting, or etching adds a premium to the cost.
- Labor Rates: Costs vary depending on local rates for professionals.
Tips for Choosing Replacement Glass
- Match the Existing Panels
If replacing a single panel, choose a style that matches the rest of the door. Mismatched glass can throw off the aesthetic. - Consider Energy Efficiency
Insulated glass may cost more upfront, but it can save money on heating and cooling over time. - Durability First
Tempered glass is far more durable than standard glass. It’s less likely to shatter, making it a safer option for homes with kids or pets.
Is DIY Replacement Worth It?
Replacing garage door glass yourself is possible but requires care and precision. If you’re comfortable with tools and follow the steps above, it’s a satisfying weekend project. On the other hand, hiring a professional guarantees the job is done right and often includes a warranty for peace of mind.
Common FAQs About Garage Door Glass Replacement
1. How long does it take to replace garage door glass?
A professional can typically replace a panel in 30 minutes to an hour. DIY projects might take longer, depending on skill level.
2. Can I upgrade to frosted or insulated glass?
Yes, most garage doors can accommodate upgrades like frosted, tinted, or insulated garage door panels. Always confirm compatibility with the door’s manufacturer.
3. What if my garage door has multiple broken panels?
If several panels are damaged, it might be more cost-effective to replace the entire door. Get estimates to compare options.
4. Does insurance cover garage door glass replacement?
Home insurance might cover damage caused by accidents or storms. Check your policy for details.
5. Can broken garage door glass affect my energy bill?
Yes, broken or poorly sealed panels can let air escape, forcing your HVAC system to work harder. Replacing the glass restores insulation.
Garage door glass replacement isn’t just about aesthetics but safety, functionality, and energy efficiency. Whether you decide to DIY or call in a professional, the steps are straightforward, and the investment is worthwhile. Remember, a well-maintained garage door is more than just an entry point—it’s part of your home’s first impression. So, don’t let broken glass leave you in a bind.