Garage door sensors are small but very important. They have been needed on all home garage doors for over 25 years. These garage door open sensors send out infrared beams to check for things in the way. This stops the door from closing on people or things.
When the sensors blink, it means they’re not working right. But if they’re set up correctly, the door works smoothly. They sit 6 inches off the ground and send signals to open the door if something blocks it.
It’s good to check your sensors every month and have them looked at twice a year. This helps them last longer, up to 10 years. You should clean them, check the wires, and make sure the lights are working right. The lights should be yellow for the sender and green for the receiver.
The sensors need to be facing each other at the same height. If they’re not, the beam won’t work right. If the door closes by itself without something in the way, it could cost a lot to fix. This guide will help you install, fix, and take care of your garage door sensors.
Understanding Garage Door Open Sensors
Garage door sensors are key for safety, starting in 1993. They stop accidents by finding things in the way. These devices use infrared to make a hidden barrier on the floor. Let’s look at how they work and the different types.
What Is a Garage Door Open Sensor?
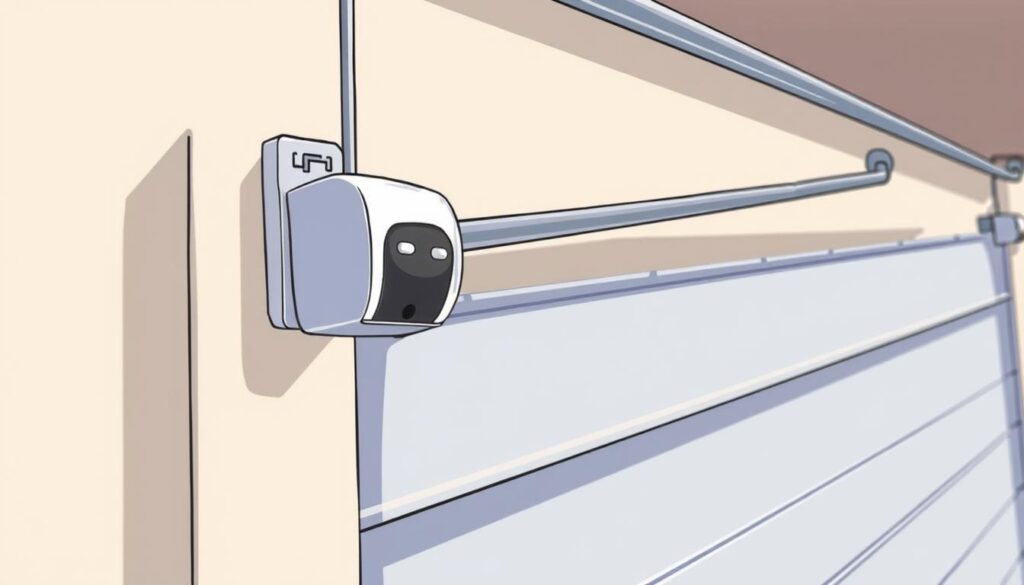
These sensors, also called photo eyes, are on both sides of the garage door. They send out an infrared beam that must stay clear for the door to close. If something blocks it, the door goes back up to avoid harm.
Types of Garage Door Open Sensors
Older models just use simple infrared beams. But, newer smart garage door sensor systems can connect to your home network. This lets you check your garage from your phone or with voice commands. Here’s a comparison of their features:
| Type | Basic Sensor | Smart Garage Door Sensor |
|---|---|---|
| Connectivity | Standalone | Wi-Fi/Bluetooth enabled |
| Alerts | Local beeps | Mobile app notifications |
| Cost | $20-$50 | $100-$200+ |
How Do Sensors Work?
Sensors have a transmitter and receiver. Here’s how they work:
- The transmitter sends an infrared beam to the receiver.
- If something blocks it, the receiver tells the opener to stop the door.
- Problems often come from dirty lenses, being off track, or broken wires.
“All residential garage doors must include sensors 6 inches above the floor,” per 1993 Underwriters Laboratories standards.
A smart garage door sensor has extra features like cloud backups and voice commands. Keeping them clean and in line stops false closures. Always test them by putting something in the way to make sure they work right.
Benefits of Using Garage Door Open Sensors
Garage door sensors make homes safer and easier to manage. They add safety and convenience, making them key for today’s homes.
Improved Safety Features
Sensors stop doors from closing if something is in the way. This has been a law in the US for over 25 years. It helps keep homes safe from intruders, cutting down on break-ins by 40%.
Checking sensors often keeps them working well. This is important for safety.
Enhanced Convenience
Modern wifi garage door sensor systems let you check your door from anywhere. You get alerts if the door is open too long or if someone tries to get in. Apps let you control your door anytime, making life easier.
Energy Efficiency Gains
Good sensors help doors close tight, keeping out cold or hot air. This saves energy and lowers bills. A sealed garage also keeps your home’s temperature steady, saving money all year.
Keeping sensors in good shape helps them last longer. This keeps your home safe and comfortable.
Installing a Garage Door Open Sensor
Putting in a garage door sensor, like a wireless garage door sensor, is easy. Most people can do it in 15–20 minutes. This guide will show you how, for both wired and wireless types.
Required Tools and Materials
- Step ladder (6–8 feet)
- Pliers and wire cutters
- Safety glasses and work gloves
- Wire nuts (for wired models)
- Batteries (2 AAA for wireless models)
- Mounting kit (screws, adhesive tape)
- Level and measuring tape

| Wireless Sensor Requirement | Details |
|---|---|
| Batteries | Two AAA included with most kits |
| Base Station Proximity | Within 10 ft of Telo Base Station |
| Mounting | Use screws on textured surfaces |
| Indoor Use | Not designed for outdoor weatherproofing |
Step-by-Step Installation Guide
- Turn off power to the garage door opener at the circuit breaker.
- Place sensors 4–6 inches above the floor, facing each other. Make sure they’re level.
- Mount wired sensors with screws; wireless ones with adhesive or screws. Press adhesive against the door for 30 seconds.
- For wireless sensors, put in batteries and press the pairing button on both the sensor and base station.
- Test by closing the door. Both sensors should show solid green lights.
Tips for a Successful Installation
- Keep wireless sensors within 10 ft of the base station to avoid signal loss.
- Avoid metal surfaces to prevent interference with the wireless garage door sensor signal.
- Check for a solid green light after setup to confirm proper alignment.
- Use a helper to stabilize the ladder and monitor electrical connections.
Troubleshooting Common Issues
Garage door sensors often fail because they’re not aligned right or blocked. This makes the garage door alert system not work. Over 70% of problems come from sensor issues.
First, check the sensor lights. Green means they’re good, but red means there’s a problem. Clean the lenses, check if they’re getting power, and make sure they’re aligned right. 
Sensor Not Detecting Movement
Dirty or broken sensors stop the infrared beam. Use a soft cloth to clean the lenses. If the lights are red, adjust the sensors until they turn green.
Misaligned sensors cause 50% of garage door alert system problems. Also, check for things like toys or leaves that might be in the way.
Interference and Signal Issues
Sunlight or moisture can mess with sensor signals. Keep sensors away from direct sunlight and make sure they’re dry. Also, move wireless devices like Wi-Fi routers 10 feet away.
Use UV-resistant covers to protect sensors from the sun. Signal problems cause 40% of system failures.
Resetting the Sensor
If you’ve tried everything and it’s not working, reset the system. Unplug the opener for two minutes. Then plug it back in and test it.
For smart sensors, follow the manual’s reset steps. If it’s not fixed, call a certified technician. Over 90% of problems get fixed with these steps, saving you money.
Maintenance Tips for Garage Door Open Sensors
Keeping your automatic garage door sensor in good shape is key. Not taking care of it can cost a lot—up to $300 for new sensors. But, regular checks can cut down problems by half. Here’s how to keep your system working well:
Regular Cleaning and Inspection
- Use a soft cloth and mild soap to clean sensor lenses every three months.
- Stay away from harsh chemicals. They can damage the lens and make problems worse by 15%.
Check brackets and wires every quarter. For tough problems, look at professional guides for help.
Checking Alignment and Connections
- Make sure sensors are straight and facing each other. If not, they might fail 30% of the time.
- Put your hand between sensors to test the infrared beam. The door should go back up right away.
- Loosen screws a bit, then adjust sensors with a level tool. Tighten them well after.
Updating Software and Firmware
Modern automatic garage door sensor systems need updates. Check the maker’s site every six months for new stuff. Here’s what to do:
- Turn off the system before updating to avoid losing data.
- Save your settings before updating, if you can.
Systems over 20 years old might need to be replaced. This ensures they work safely, like the photoelectric beam.
When to Seek Professional Help
Many garage door sensor problems can be fixed by yourself. But, some need a pro. Issues like constant problems, damage, or electrical issues are signs you need a certified tech.
Photo-eye sensors are very important for safety. They need to be fixed right after damage or sun exposure.
Signs a Professional Is Needed
If sensors won’t work after cleaning, you need a pro. Also, if lenses are broken or lights are flashing, get help.
Doors that won’t close or sensors that won’t turn on might have wiring problems. Try using cardboard at sensor height. If it gets crushed, call for help right away.
Damage from the sun or complex electrical work should only be done by experts.
How to Choose the Right Technician
Choose technicians certified by LiftMaster or Chamberlain. They should have experience with brands like AE Door & Window. Look for 24/7 service, like Team Taylor Door.
Team Taylor Door offers warranties on parts and labor. Customers like Kathy Tate and Brittney Ormiston say they’re fast and reliable. Make sure they follow 1993 safety standards to avoid dangers.
Costs Associated with Professional Services
Fixing garage door sensors costs $80 to $550. Replacing them is $190–$350. The price depends on labor and the type of sensor.
Team Taylor Door’s work meets industry standards. This means your door will work well for a long time. Always choose certified technicians for safety and reliability.

