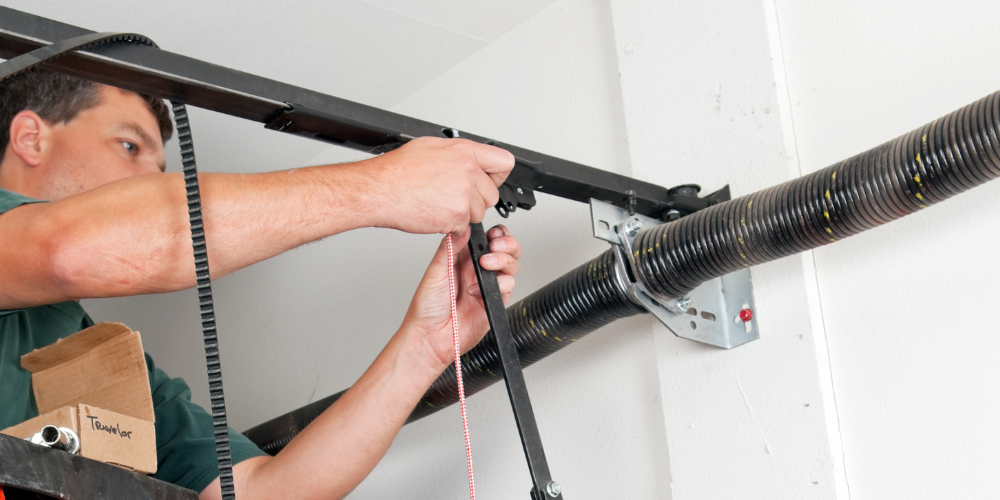
Adjusting garage door springs might seem as simple as pie, but it requires a keen eye and a steady hand. You’re not alone if you’ve ever had that nagging feeling when your garage door doesn’t open as smoothly as it should. Let’s dive into the nitty-gritty of garage door spring adjustment. This guide is all about making your life a tad more accessible by helping you keep those garage doors operating like a well-oiled machine.
Understanding Garage Door Springs
Before we roll up our sleeves, let’s discuss what garage door springs do. These springs are the unsung heroes of your garage door system. They counterbalance the door’s weight, making it easier to open and close. Imagine lifting a ten-pound bag of potatoes without help—that’s what a garage door is like without springs.

Types of Garage Door Springs
There are two main types of garage door springs: torsion springs and extension springs.
Torsion Springs
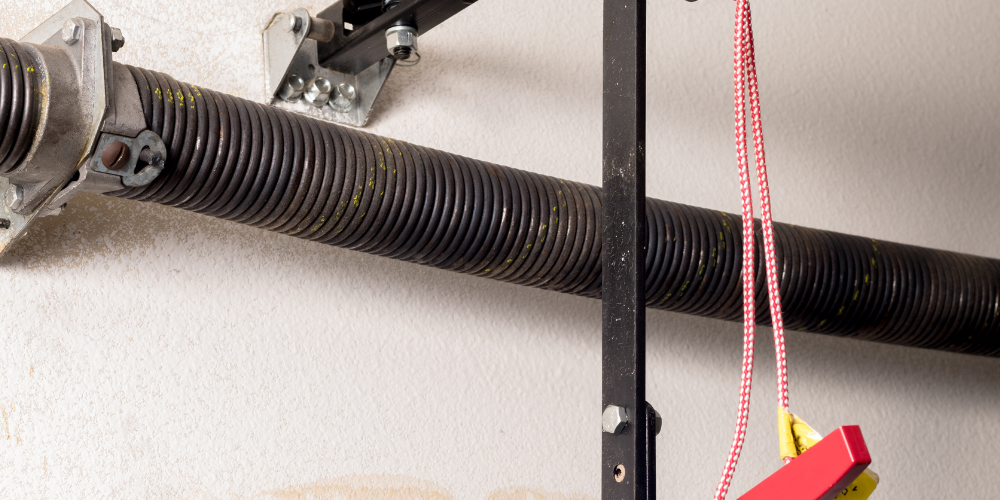
These are typically mounted horizontally above the garage door. Torsion springs work by twisting and are known for their durability and reliability. They’re like the star quarterback of the spring world.
Extension Springs
On the other hand, extension springs are mounted on either side of the garage door and stretch to provide lifting power. They’re more like the unsung heroes who do their job quietly and efficiently.
Tools You’ll Need for the Job
Before you dive into adjusting your garage door springs, it’s essential to have the right tools. Here’s a handy list to get you started:
- Safety glasses: Because your eyes are priceless!
- Work gloves: To keep your hands safe and sound.
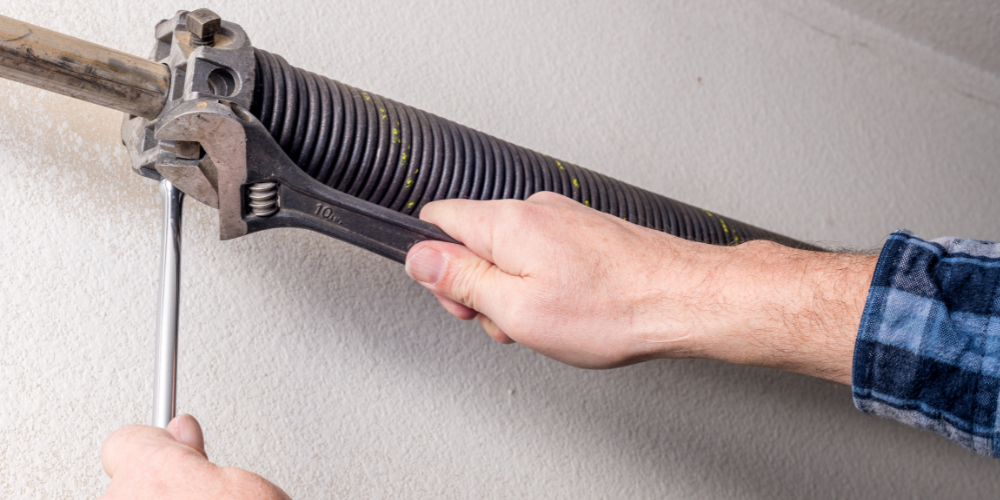
- Winding bars (for torsion springs): These bars are designed to adjust torsion springs.
- Adjustable wrench: For loosening and tightening nuts and bolts.
- Tape measure: To ensure precise measurements.
- Ladder: To reach those high spots with ease.
- C-clamps or locking pliers: Keep the door in place while you work.
Safety Precautions
Let’s talk safety before you jump into the deep end. Adjusting garage door springs can be dangerous if not done correctly. These springs are tense, and mishandling them can lead to serious injuries. Here’s what you need to know:
Why Safety Matters
Imagine a slingshot pulled back, ready to release – that’s the tension we’re dealing with here. A sudden snap could cause injury, so taking the necessary precautions is crucial.
Steps for Safe Adjustment
- Disconnect the power: Always unplug the garage door opener before starting your work.
- Secure the door: Use C-clamps or locking pliers to hold the door in place.
- Use the right tools: Avoid makeshift tools; they can lead to accidents.
- Wear safety gear: Protect your eyes and hands.

Step-by-Step Guide to Adjusting Torsion Springs
Torsion springs can be a bit tricky, but don’t worry – we’ve got your back. Follow these steps for a smooth adjustment process:
Step 1: Determine the Issue
Before you begin, identify the problem with your garage door. Does it open too quickly? Does it slam shut? Knowing the issue will guide your adjustments.
Step 2: Gather Your Tools
Make sure you have all the necessary tools mentioned earlier. You don’t want to be halfway up the ladder and realize you left something behind.
Step 3: Secure the Garage Door
Use your C-clamps or locking pliers to secure the door in place. Safety first!
Step 4: Adjust the Tension
- Locate the winding cone: This is where you’ll insert your winding bars.
- Insert the winding bar: Place it into one of the holes in the cone.
- Loosen the set screws: Use your wrench to slightly loosen the screws that hold the winding cone in place.
- Adjust the spring: Turn the winding bar to increase or decrease tension as needed.
- Tighten the set screws: Once the adjustment is complete, make sure the set screws are tight.
Step 5: Test the Door
Remove the C-clamps and test the door. Does it open and close smoothly? If not, repeat the adjustment process as needed.
Step 6: Double Check Everything
Before calling it a day, double-check that everything is secure and functioning correctly.
Step-by-Step Guide to Adjusting Extension Springs
If you’re dealing with extension springs, the process is a bit different but equally manageable.
Step 1: Identify the Problem
Like with torsion springs, start by identifying the issue with your garage door.
Step 2: Assemble Your Tools
Gather all the tools you’ll need. Remember, preparation is half the battle!
Step 3: Secure the Garage Door
Use C-clamps or locking pliers to keep the door in place while you work.
Step 4: Adjust the Spring Tension
- Locate the adjustment hook: This is where you’ll make your adjustments.
- Move the hook: Use your hands or pliers to move the hook to a new position on the track.
- Test the tension: Open and close the door to see if the tension is proper.
Step 5: Recheck and Test
After making adjustments, remove the C-clamps and test the door’s functionality. Fine-tune if necessary.
Step 6: Final Inspection
Ensure everything is secure and functioning as expected before you wrap up.
Troubleshooting Common Garage Door Spring Issues
Even with all this information, you might run into some roadblocks. Here’s how to tackle common issues:
Problem: Garage Door Won’t Open Fully
- Check the tension: The springs might be too loose.
- Inspect the tracks: Ensure they’re not obstructed.
Problem: Garage Door Closes Too Quickly
- Increase the tension: The springs might need more tension to slow the door down.
- Check the balance: Make sure the door is balanced properly.
Problem: Noisy Garage Door
- Lubricate the springs: Use a silicone-based lubricant.
- Inspect for wear: Look for signs of damage or wear and replace parts if necessary.
When to Call a Professional
While adjusting garage door springs can be a DIY project, sometimes it’s best to call in the pros. If you’re unsure about anything or if the job seems too risky, don’t hesitate to get professional help.
Signs You Need Professional Help
- Visible damage: If the springs are visibly worn or damaged.
- Lack of confidence: If you’re not confident in your ability to adjust the springs safely.
- Complex issues: For problems that persist despite your efforts.

Maintenance Tips for Garage Door Springs
Keeping your garage door springs in tip-top shape can prevent the need for frequent adjustments. Here are some maintenance tips:
Regular Inspections
Take a few minutes every month to inspect your garage door springs for signs of wear or damage.
Lubrication
Use a silicone-based lubricant to keep the springs running smoothly. This can also help reduce noise.
Balance Check
Check the balance of your garage door regularly to ensure it’s operating correctly. An unbalanced door can put extra strain on the springs.
Frequently Asked Questions (FAQs)
1. Can I adjust garage door springs myself?
Yes, you can adjust them yourself, but it’s important to follow safety precautions and use the correct tools. If you’re unsure, it’s best to call a professional to replace garage door springs.
2. How often should garage door springs be adjusted?
Typically, garage door springs need adjustment every few years, depending on usage. Regular inspections can help determine when adjustments are necessary.
3. What are the signs that my garage door springs need adjustment?
Signs include the door not opening or closing smoothly, the door slamming shut, or the door being difficult to open.
4. Can I replace garage door springs myself?
Replacing springs is more complex and risky than adjusting them. It’s recommended to have a professional handle spring replacements.
5. What should I do if my garage door spring breaks?
If a spring breaks, stop using the door immediately and call a professional for replacement. A broken spring can be dangerous and should not be handled without proper expertise.
Adjusting garage door springs might seem like a Herculean task, but with the right tools and knowledge, it’s doable. Whether dealing with torsion springs or extension springs, the key is to take it slow and steady. Remember, safety comes first! If you’re ever in doubt, don’t hesitate to call a professional. After all, a smooth-running garage door makes life just a little bit easier.
